
PANTRY LABELS WITH CRICUT

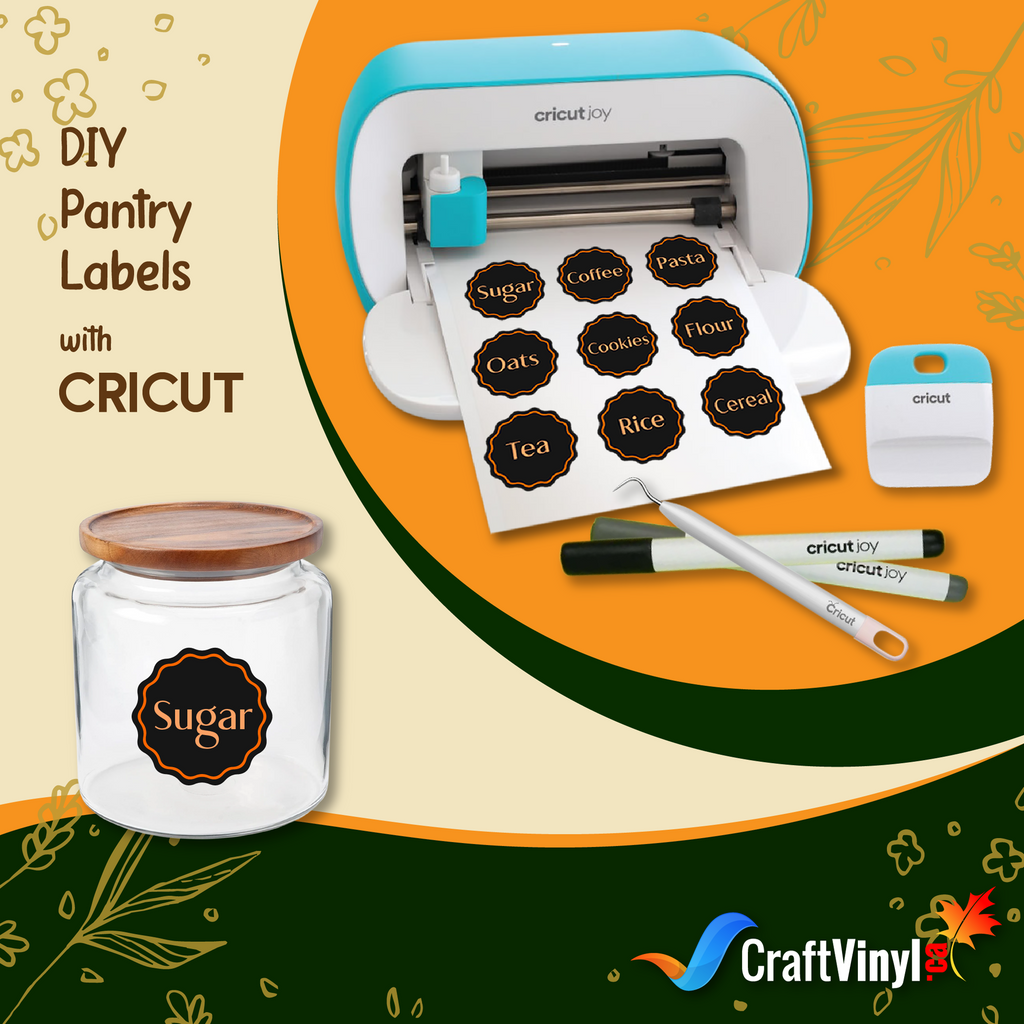
EASY DIY PANTRY LABELS WITH CRICUT
Want to put your pantry in order? Why not use labels? If you maintain the entire organization in your pantry, vinyl and Cricut could help! Find out the reasons why your pantry needs tags.
I know you're still trying to figure out how this relates to labeling. Go on reading. I can assure you that everything will work out.
So here are the reasons why you must have pantry labels.
Things will be quicker and simpler to see with labels. Because you won't have to waste time looking for ingredients, labeling can speed up the cooking process. You may keep things in the same spot by labeling them, so you always know where to look for them.
Your family will understand to place the cereal boxes on that shelf if you put a label on that shelf as "cereal." They will know that the bread and buns go in that container if you name it "bread and buns." You can communicate with your family in this way without ever having to speak to them.
The best way to get the pantry labels I love is through vinyl labels. Whether you want a removable or permanent vinyl, this can give your pantry and kitchen the style you want!
Without hiring a professional, a cutting machine like Cricut can give your pantry the precise design you want. The Cricut cutting machine is the best for cutting any labels you require.
So, if you're prepared to organize your pantry... get your Cricut and vinyl ready!
WHAT DO I NEED TO MAKE DIY PANTRY LABELS WITH CRICUT?
Create simple DIY pantry labels with vinyl or cardstock, and your Cricut machine's Print then Cut feature. Everything will be labeled and arranged in your pantry after you have all the necessary materials. Vinyl and cardstock are two other types of materials that you can use for your labels. Use the Cricut's Print then Cut function to precisely cut out your tags after printing them out on cardstock.
To start your DIY Pantry Labels, you need the following supplies:
-
Cricut Design Space
You need Cricut Design Space software to design your pantry labels. You can search the library to look for more unique label designs. Or you can add text such as sugar, salt, and coffee creamer to adhere to your glass jars. Just choose a cute font style and alter the size to fit your jars. You can also import SVG files if you want high-quality designs.
-
Cricut Machine
Of course, after creating your pantry labels, you need to cut them out using your Cricut machine. Later, I will walk you through how to use your Cricut machine as a label maker, whether you are using Cricut maker, Cricut Explore Air 2, or Cricut Joy.
-
Vinyl
One of the leading supplies you need is your vinyl. You can use ADHESIVE VINYL or HEAT TRANSFER VINYL. Just remember the rule on vinyl. If your jar is plastic, you should pick the adhesive vinyl, but if it is a glass jar, I recommend using heat transfer vinyl.
After printing out your labels, you must pick them up from the vinyl using a transfer tape.
-
Cardstock
If you want to put a label on your pantry baskets, it is better to use cardstock and hang it on your pantry basket.
-
Glass Jars
You need glass jars to organize your spices and condiments. And for you not to get conscious when you are cooking, it's better if it has labels on it.
-
Weeding Tools
Weeding tools are essential to weed out or remove the excess vinyl on your labels or vinyl.
-
Scraper
To firmly press your label on your glass jars, use a scraper tool (an old atm card is an excellent alternative for this).
Oops… did I mention the Print then Cut feature for your Cricut? Here are the Instructions for this.
- It would help if you created your labels and used the Flatten tool to use the Cricut Print then Cut feature. With the help of this program, you may flatten any image into a single layer and make it printable.
- Select "Make it" after flattening your image. Print your labels first by following the Design Space instructions.
Note: Be sure to deactivate the bleed button! Otherwise, you will get words with bleed, which you do not want because you need to cut out around each word.
- After you print your labels, attach them to your LightGrip mat. Load it into the machine. The Cricut will read the registration marks and cut out your labels perfectly!
Are you now ready to have an organized pantry in your house?
Keep on diving!
HOW DO YOU MAKE FOOD LABELS ON CRICUT?
Creating food labels is a fantastic way to organize your pantry and other house areas. Let's be honest here. You unconsciously judge how things are arranged in a home when someone invites you, so if you want to get complementation from your guests, clean and organize your items, especially in your kitchen area where your little pantry is located.
This quick tutorial demonstrates how simple creating labels with a Cricut is.
Create coffee, flour, and tea labels using this label project in Cricut Design Space as your starting point. Alternatively, you can create a design from scratch using a blank canvas in Cricut Design Space.
Use your Cricut as a label maker to learn how to create vinyl labels. When you master using a Cricut to design labels, you can rapidly create distinctive, stunning labels to make the most orderly and beautiful pantry area!
SUPPLIES NEEDED:
- Cricut Explore 3
- Pantry Jars
- Vinyl, White
- Scraper
- Weeding Tool
- Material Trimmer
- Transfer Tape
You need to know how to design your labels before I explain how to make labels on your Cricut machine. The procedure is done through the Design Space app.
Follow these steps:
1. Open the Design Space app. From the Image Library, choose the shape. Then, place your desired shape on canvas and choose "cut" in the layers menu on the right.
2. Select the Text tool from the tool panel on the left to add text to your canvas. Set the text to "draw" and pick the preferred pen color to obtain the ideal appearance by adjusting the text's size, orientation, and font.
3. Fill out the label shape with text
4. If desired, use the Alignments tool to center your label and words.
5. To attach the text to the label, click the "attach" button. The software uses this feature to identify which pieces should be kept together.
Make Food Labels with Cricut
Step 1: Select "New Project" to start a fresh design on the Cricut Design Space main page.
Step 2: You'll see an option for "Images" on the left-hand navigation bar once you're on the canvas.
Step 3: Click that Images button. You can now search in the Cricut image library! Filter your search by "image sets" and search for "Pantry Label." The image you choose is entirely up to you.
Step 4: Insert as many labels as you wish onto your canvas by choosing them.
By dragging the arrow in the image's lower right corner, you may change the labels' size on Canvas. Click "Make It" when the size is just right.
Step 5: The information from Design Space will flow from the software to your Cricut machine. Follow the prompts to continue to cut.
Once the material has been cut, unpack it and trim the extra vinyl from the area around the images. Slowly and carefully weed the excess vinyl to avoid tearing your vinyl. This procedure is known as WEEDING.
Step 6: Put transfer tape in front of your design and transfer it to your jar! Use the scraper to adhere it perfectly.
That's all, then! You now know how to use a Cricut to make food labels at home! We hope you give everything a unique touch. Share your creations with us!
BEST CRICUT MACHINE FOR MAKING LABELS
Due to my obsession with organizing, when I do finally take on an area that is unorganized, I want to get it sorted. I want a place for everything and every piece of that place. Do you get what I mean?
I love anything having labels on it! For that reason, I love to use tags and labels. They can keep the whole house neat and organized while also being stylish and adorable.
Even if your pantry, playroom, or creative space is functioning reasonably well, it certainly needs a little freshening up. You can easily accomplish this with time spent cleansing, categorizing, and labeling.
Some crafters used to buy labels and chalkboard markers – and those work. But what's a more fantastic supply to use is your Cricut machine. Things that you used to do by hand, you can now do with a Cricut and vinyl. And that includes making labels! Your life will indeed change and evolve most amazingly.
But what are the best Cricut machines for making labels?
1. Cricut Maker
The Cricut Maker series of machines are the most potent Cricut machines, which will allow you to create virtually any project you can dream up. The fact that this machine can easily handle labels is one of the reasons it is known as the king of Cricut machines. The Cricut Maker can sketch, cut, and engrave anything, allowing crafters to realize their creative visions. It can create anything you desire when acting as a Cricut label maker (including paper and vinyl labels).
Pros:
- Debossed, scored, foil-stamped, cut, written, and more
- Suitable for more than 300 materials
- Bluetooth integration
- Cutting force ten times
- Flexible Tool System (Rotary Blade, Knife Blade, Scoring Wheels, and more)
- Print and cut friendly
- Free Design Space application
Cons:
- Necessary cutting mat
- Incompatibility with intelligent materials, such as intelligent vinyl
- Maximum cutting length on a 24" mat is 23".
- Unportable
2. Cricut Explore Air 2
The Cricut Explore Air 2 is an excellent label maker that can easily handle challenging tasks and produce results of the highest caliber. With this Cricut label maker, you may create either form of the label because it can cut both paper and vinyl.
Pros:
- Scores, cuts, writes, and foils
- Adaptable to more than 100 materials
- Bluetooth integration
- Quick Mode
- Print and cut friendly
- Free Design Space application
Cons:
- The Adaptive Tool System is incompatible with this (cannot use Rotary Blade, Knife Blade, Scoring Wheels
- Necessary cutting mat
- Incompatibility with intelligent materials, such as intelligent vinyl
- Maximum cutting length on a 24" mat is 23".
- Unportable
3. Cricut Joy
The newest Cricut family member if you want to enjoy the advantages of owning one without making a significant investment-the Cricut Joy. Making labels with this small vinyl-cutting machine is quicker and simpler than ever.
This tiny machine shines out when creating labels thanks to Cricut Joy Smart Label. It's a white vinyl like no other that feeds directly into the Cricut Joy without the need for a mat.
The Cricut Joy Smart Label is made to allow writing and drawing with Cricut Joy pens! Astonishingly, there was no smearing, fading, or smudging.
Pros:
- Writes and cuts
- Adaptable to more than 20 materials
- Bluetooth integration
- Portable
- Can use Smart Materials to cut with or without a mat.
- Support for Card Mat
- Free Design Space application
Cons:
- 4.5" maximum cut width
- The Adaptive Tool System is incompatible with this.
- Incompatibility with Print Then Cut projects
What is the BEST Cricut machine to use for label-making, then? It depends on the type of labels you want. For simple tags you can make quickly and use to label the foods in your pantry, the Cricut Joy will help you with that!
CAN YOU MAKE YOUR OWN LABELS WITH CRICUT?
Creating DIY labels with my Cricut is one of my favorites!
Suppose you have a Cricut maker, Cricut Explore Air 2, and Cricut Joy. After learning the best Cricut machines for making labels, you can make your labels. As promised, I will walk you through the step-by-step guide on how to make labels with your Cricut. Let's start! This blog is for you.
HOW TO MAKE LABELS WITH CRICUT MAKER AND EXPLORE AIR 2
Supplies you'll need:
- Cricut Machine
- Label Project In Cricut Design Space
- Cutting Mat
- Cricut Premium Vinyl
- Weeder And Scraper Tools
- Transfer Paper
Label-making process:
- Make sure you're happy with how everything appears after designing your labels in Cricut Design Space. Just follow these simple steps to cut and use your labels on your Cricut Maker or Explore Air 2.
- Now is the time to cut your project. You can follow the instructions in the Design Space software to choose the ideal settings for your project.
- Place your material on the mat, click "cut," then sit back and watch your Cricut do its magic.
- Using the weeding tool, you can eliminate any extra vinyl bits left over after the machine has finished cutting your labels.
- Cut a piece of transfer tape to the same size as your project.
- Press hard to adhere the vinyl to the transfer tape. Then remove the paper backing, leaving behind your cut design and the transfer tape (one side will be sticky).
- For the vinyl to adhere to your object, align your label on it and press firmly. For this stage, you can also press down with the scraper tool.
- To complete the procedure and "unveil" your finished project, carefully peel off the transfer tape starting from the top left corner toward the bottom right corner.
USING CRICUT JOY LIKE A CRICUT LABEL MAKER
For Cricut Joy, you have different options for how you want to make your labels.
Writable Vinyl Labels
Plastic bins hold all sorts of odds and ends in my pantry. Writable vinyl labels help me identify what's in each box.
Supplies:
- Cricut Joy
- Cricut Joy Smart Label Writable Vinyl
- Cricut Joy 0.4 Pens
Directions:
1. In your Cricut Design Space, launch the label project. If necessary, resize your labels.
2. Your label's name should be typed in the center using the writing style text tool. To connect your text to your label, use the Attach tool. Repeat with the rest of your tags.
3. To complete the creation of your labels, click Make It in the upper left. The Prepare Screen will appear as a result. You will be asked to choose your mat style at this point. Since we'll be utilizing the Smart Label Writable Vinyl from Cricut Joy and loading the material directly into the machine, choose "Without Mat"!
4. To write and cut your project, click Go in Cricut Design Space . From the Make screen, select Smart Label Writeable Vinyl. After that, add your material to Cricut Joy. Cricut Design Space will notify you when it's time to replace your pens and blades.
Stick your labels to your bins like stickers after you're finished!
2. Vinyl Labels and Matless Cutting
These vinyl labels are cute way to tell what goes in each cup.
Supplies Needed:
- Cricut Joy
- Cricut Joy Removable Smart Vinyl
- Scraper
- Transfer Tape
Directions:
1. Create your label in Cricut Design Space by opening it. To fit your medium, resize it.
2. Choose to Make It from the menu in the top left corner. You'll see the Prepare Screen. Because we're using Permanent Smart Vinyl, choose Without mat. From the Make screen, select Permanent Smart Vinyl. After that, add your material to Cricut Joy. Click Go to start cutting your design in Cricut Design Space.
3. Utilize transfer tape to pick up your labels. After that, pick out the extra vinyl. And lastly, adhere it to your medium.
3. Writable Paper Labels
Cricut Joy Writable Paper is thicker than writable vinyl and comes in a kraft finish. It's a perfect way to label your jars.
Supplies:
- Cricut Joy
- Cricut Joy Adhesive Backed Smart Label Writable Paper
- Cricut Joy 0.4 pens
Directions:
1. Launch Cricut Design Space and click the label project. If necessary, resize your labels.
2. To center the label and type your label name, use the writing style text tool. To connect text to the label, use the attached tool.
3. To complete the creation of your labels, click Make It in the upper left. The Prepare Screen will appear as a result. You will be asked to choose your mat style at this point. Since we're using adhesive-backed smart label writable paper, select "Without Mat" so that Cricut Joy may load the material without a mat.
4. Click Go in Cricut Design Space to write and cut your project. On the Make screen, pick Smart Label Writable Paper. After that, add your material to Cricut Joy. Cricut Design Space will remind you to change your pen and blade when necessary.
Apply your labels to your jars like stickers once you're finished!
HOW TO MAKE CRICUT LABELS WITH CRICUT MAKER AND EXPLORE AIR 2
If you are new to using your Cricut, the process may take a little time to get used to. But i'm pretty sure, once you do it once or twice, it'll seem much more straightforward.
Supplies you'll need:
- Cricut Machine
- Label Project In Cricut Design Space
- Cutting Mat
- Cricut Premium Vinyl
- Weeder And Scraper Tools
- Transfer Paper
Label-making process:
1. As soon as you've finished designing your labels in Cricut Design Space, check to make sure you like how everything looks. Then, use your Cricut Maker or Explore Air 2 to cut and use your labels. You can follow the instructions in the Design Space software to choose the ideal settings for your project. Just follow the simple instructions. Your project must be cut.
2. Put your material on the mat, click the cutting button, and watch your Cricut do its magic.
3. Use the weeding tool to take out any extra vinyl bits after the machine has finished cutting your labels.
4. Cut a piece of transfer tape to the same size as your project. Press the vinyl firmly against the transfer tape to secure it. Then remove the paper backing, leaving your cut design and the transfer tape (one side will be sticky).
5. To guarantee that the vinyl adheres to your item, center the label on it and apply hard pressure. For this stage, you can also press down with the scraper tool.
7. To complete the procedure and "reveal" your completed project, slowly peel off the transfer tape from the top left corner toward the bottom right corner.
USING YOUR CRICUT JOY LIKE A CRICUT LABEL MAKER
Using the Cricut Joy machine as a label maker is slightly different, thanks to the Cricut Joy Smart Label. With the Cricut Joy machine, you'll still design your label using the process through Design Space.
Here's where the significant difference happens: you don't need to use transfer paper to attach your label to your item. All you have to do is peel and stick like a sticker! Then use your Cricut Joy to write it and cut it.
A SimpleTip:
I recommend removing any excess vinyl before peeling and attaching your label to your container.
Discover More Great Articles On Crafting
For more incredible vinyl projects, please click the links below:
Your Cricut machine will be a beneficial tool for getting organized. Enjoy how simple and hassle-free it is to make lovely, personalized labels for all of your organizing needs!
Now you have labeled jars and bins and hopefully an organized pantry!
Learn more Vinyl tips and tricks and share your crafting adventures with us. Please visit us on our pages.
Social Media Accounts:
FB: CraftVinyl.ca
IG: CraftVinyl.ca
TikTok: craftvinyl.ca
For your vinyl crafting needs, please check our website at www.craftvinyl.ca. We offer different Adhesive and Heat Transfer Vinyl, perfect for your next project.